The following steps describe creation of an approval process for the Quote object:
1. Open Setup
2. Enter Approval Processes in the Quick Find box, then select Approval Processes
3. In Manage Approval Processes For: select Quote object
4. Click “Create New Approval Process” button and select Use Standard Setup Wizard

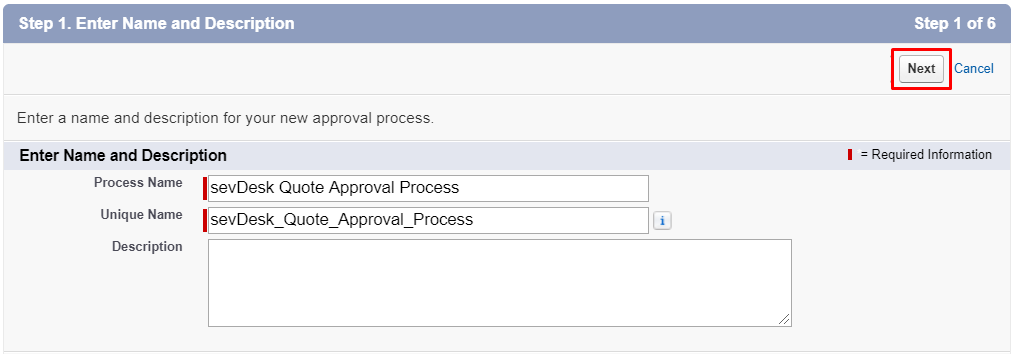
5. Enter appropriate Process Name and Unique Name (for example: sevDesk Quote Approval Process) and click “Next” button
6. Skip the next step and click “Next” button
7. In this example, for Next Automated Approver Determined By the Manager option is selected. You can also select “–None–” option in order to do not determine an approver automatically or “Create New Hierarchical Relationship Field” option. Then click “Next” button

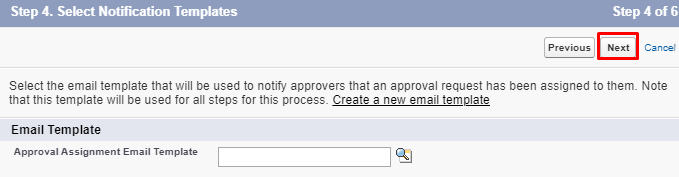
8. Select the appropriate Approval Assignment Email Template (in our case, this field is blank and the default approval assignment email template will be used instead)
9. Click “Next” button
10. Select the fields you want to see on Approval Page. In our case, the following fields are selected:
- Quote Name
- Opportunity Name
- Quote Number
- sevDesk Number
- Owner Name

11. Add Opportunity Owner to Allowed Submitters column and click “Save” button

12. Select “Yes, I’d like to create an approval step now” option and click “Go!” button
13. Enter Name of the approval step (for example: sevdesk Quote Approval Step)
14. Enter Unique Name of the approval step (for example: sevDesk_Quote_Approval_Step)
15. Enter Step Number (for example: 1)
16. Click “Next” button
17. In Specify Step Criteria section select “All records should enter this step” option and click “Next” button
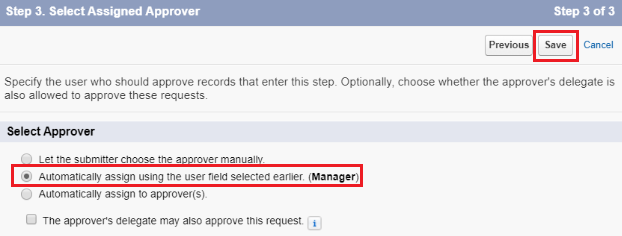
18. Select “Automatically assign using the user field selected earlier. (Manager)” option in Select Approver section. Also, you can choose “Automatically assign to approver(s)” option and select the appropriate User which will be an approver of the record when it is submitted for the approval process
19. Click “Save” button
20. Select “No, I’ll do this later. Take me to the approval process detail page to review what I’ve just created.” and click “Go!” button
21. Scroll down and find Final Approval Actions section
22. Click “Add New” button and select “Field Update”

23. Enter Name of the field update action (for example: Set To be Generated Quote Sync Status)
24. Select Sync Status field from Field to Update dropdown list
25. In Specify New Field Value section, choose A specific value option and select “To be Generated” value
26. Click “Save” button

27. Scroll down and find Final Rejection Actions section
28. Click “Add New” button and select “Field Update”
29. Enter Name of the field update action (for example: Set Synced Quote Sync Status)
30. Select Sync Status field from Field to Update dropdown list
31. In Specify New Field Value section, choose A specific value option and select “Synced” value
32. Click “Save” button
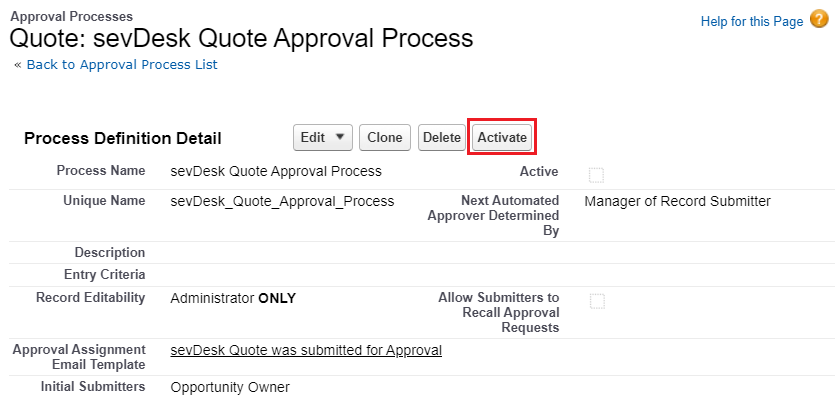
33. Click “Activate” button
Now, let’s configure Process Builder for submitting records for the created approval process. We will configure Process Builder for Quote object:
1. Open Setup
2. Enter Process Builder in the Quick Find box, then select Process Builder
3. Click “New” button
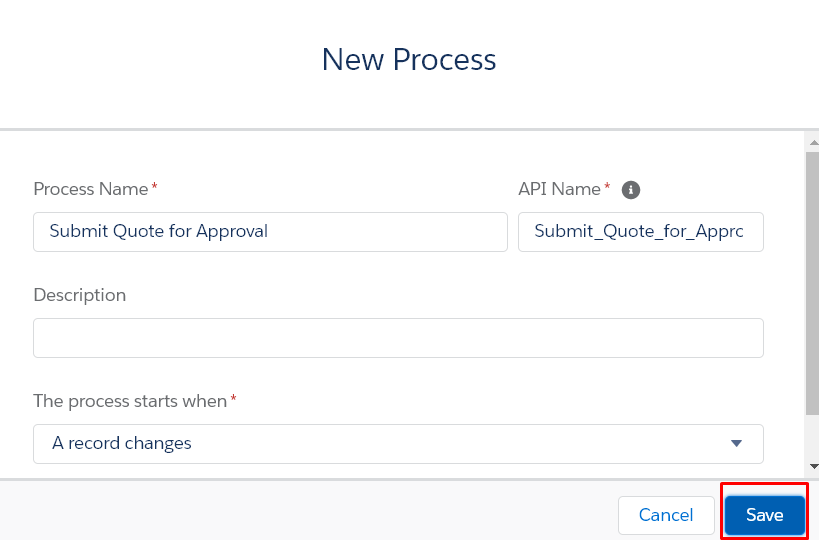
4. Enter “Submit Quote for Approval” as Process Name
5. Select “A record changes” option for “The process starts when” selector
6. Click “Save”
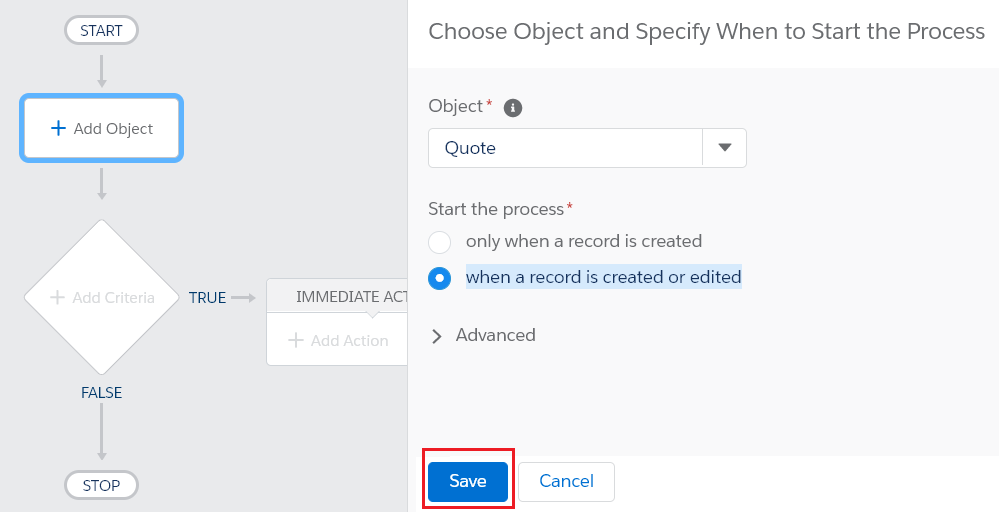
7. Click “Add Object”
8. Select Quote object
9. Choose “when a record is created or edited”
10. Click “Save” button
11. Click “Add Criteria”
12. Enter Criteria Name (for example: Quote Status In Approval)
13. Select “Conditions are met” as Criteria for Executing Actions
14. Set the following condition: Sync Status field equalsIn Approval value
15. Choose “All of the conditions are met (AND)” as Conditions
16. Click “Save” button

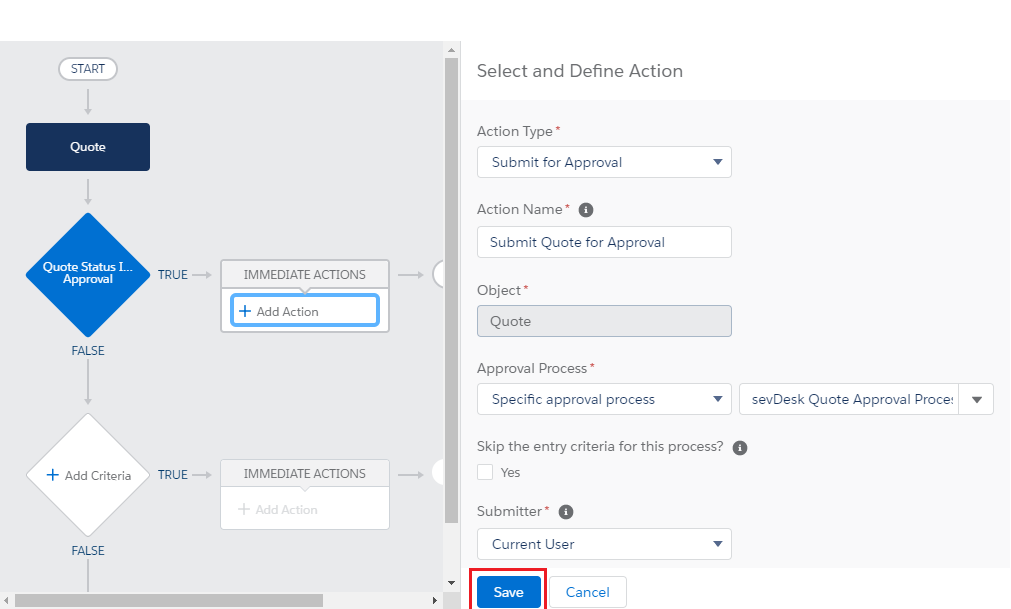
17. Click “Add Action”
18. Select “Submit for Approval” option for Action Type
19. Enter Action Name (for example: Submit Quote for Approval)
20. Select “Specific approval process” option for Approval Process and choose the configured approval process for Quote (in our case, it is sevDesk Quote Approval Process)
21. Select “Current User” for Submitter
22. Click “Save” button
23. Click “Activate” button

After completing all these steps, you will be able to use “Generate PDF in both sevDesk and Salesforce after approval” Sync Mode for the Quote object. You can configure the whole process for other objects based on the above steps by substituting the appropriate values.
The last step is to configure Approval Request Page:
- Open Setup
- Enter Lightning App Builder in Quick Box and select Lightning App Builder
- Click “New” button
- Choose “Record Page“and click “Next” button

5. Enter “Label” of the lightning page (for example: Approval Request Lightning Page)
6. Choose “Approval Request“in “Object” selection
7. Click “Next” button

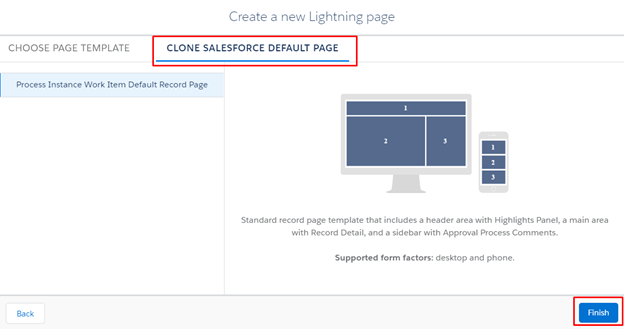
8. Select “Clone Salesforce Default Page” tab in the top of modal window
9. Click “Finish” button
10. Move SevDeskApprovalDocViewerCmp lightning component to the page area
11. Click “Save” and then “Activate” button
12. Click “Assign as Org Default” button

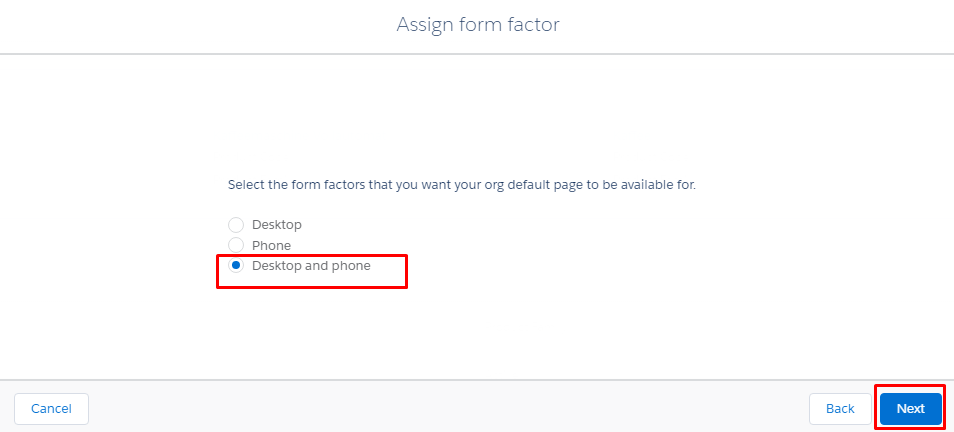
13. Choose “Desktop and phone” option and click “Next” button
14. Click “Save” button
After completing these steps, the page should look like this:


